How to Add Logo Branding to Waterproof Bags Without Leaks
Learn how to run a custom waterproof bag oem program for UK & Europe: materials, tech pack, sampling, QC and shipping. Get OEM/ODM-ready checklists and quote
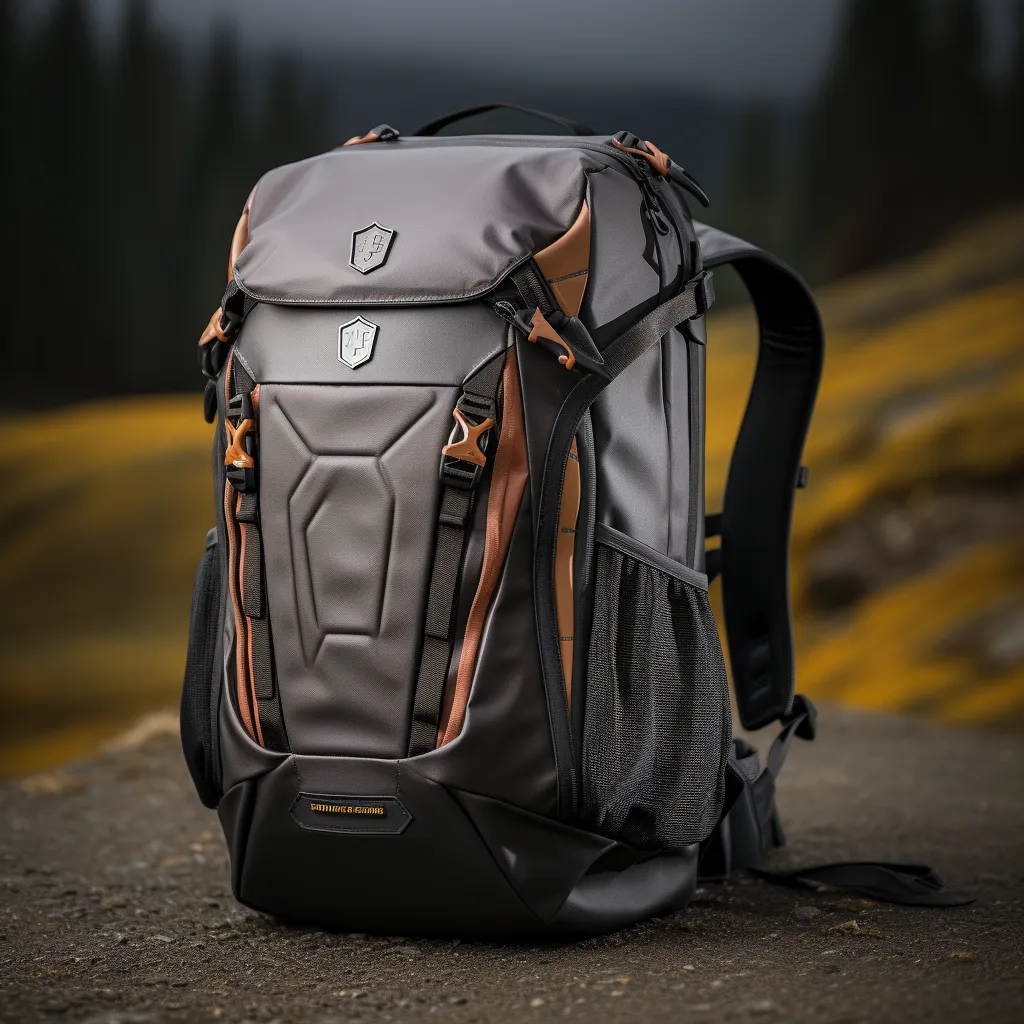
The Production Path a Waterproof Bag Follows
If you are targeting UK & Europe with a mid-range positioning, the key is to prevent variance: materials, trims, workmanship and packout rules must be written and checked.
Process controls behind a repeatable build
Any tour worth taking is a control-point checklist in disguise, not a showroom trip.
Each stage, in the order it happens
- Get the brief straight first: claim, cost target and packing spec, then cut samples.
- Within material sourcing, lock by spec: coating/laminate spec, fabric route, trim vendors.
- Templates, tolerance bands and a reinforcement plan come next.
- Cutting stage: check grain direction plus marker efficiency; hold shade lots steady.
- Sewing and welding: hold the line on stitch spec, seam allowance, critical-zone reinforcement.
- At the final assembly stage, placement jigs position logos, hardware and accessories.
- Inspect to AQL, mark the cartons and raise the shipping documents.
Typical buyer use scenarios
- outdoor sports
- fishing
- boating
- camping
- commuting
Key functions buyers request most
- RF welded seams
- roll-top closure
- airtight zipper option
- lash points
- abrasion reinforcement
Choosing the Best Materials for Custom Waterproof Bags
| Material | Performance | Cost Range | Top pick For | Upsides & Watch-outs | Risks & How to Control |
|---|---|---|---|---|---|
| TPU laminated nylon | Upper waterproof barrier potential (ISO 811 / AATCC 127 to spec); good scuff resistance when reinforced (ISO 12947 per spec) | US$1.6–5.5 / meter (per spec) | Claim-led outdoor SKUs and premium builds | Advantages: strong claim ceiling. Limitations: crease sensitivity; higher BOM cost | Control laminate peel, crease tolerance and seam strategy; validate waterproof scope early |
| PVC tarpaulin (as specified) | Higher barrier and wipe-clean surface (ISO 811 / AATCC 127 per the specification); strong scuff resistance tolerance (ISO 12947 to spec) | US$1.2–6.0 / meter (per the specification) | Rugged utility lines and marine use | Advantages: durable surface. Limitations: heavier; sustainability concerns | Define fold/packout rules to avoid scuffs; control weight targets |
| Canvas / cotton (to spec) | Good hand-feel and print; waterproofing depends on finish (AATCC 22 as specified) | US$1.0–3.5 / meter (to spec) | Retail lifestyle lines, totes and promotions | Upsides: classic look. Trade-offs: heavier; stain risk without finish | Define shrinkage and colorfastness tests (AATCC 61 / ISO 105 as specified); specify lamination if needed |
Getting to two or three candidate fabrics
- Let the use case lead: abrasion, load paths and moisture pick the fabric for you.
- Decide whether the claim covers the whole bag or only zones like the main compartment.
- Every referenced ISO/AATCC/ASTM procedure should be listed, together with the numeric bar for approval.
- Choose route-suitable trims, from zipper type and sliders to buckles and webbing strength.
- Confirm that print and branding suit the specified fabric.
- Scuffing and creasing usually trace to transit, not to stitching defects.
Development Sequence for a Custom Build
Fields your tech pack cannot skip
Development steps in working order
- Set the buyer, the price bracket and the slot it fills.
- Confirm the claim scope and its test plan by spec.
- Artwork placement, tolerance map, measurement table and BOM: four pieces that make the tech pack.
- Fit, structure and material route get validated at prototype sampling.
- Final BOM, final packaging route: the PP stage.
- Sign-off requirement: QC checklists plus the reference sample, ahead of bulk cutting.
Sampling pitfalls and how to close them
- Confirm fabric shade and coating feel with the actual supplier lot (to spec).
- Load-test every anchor point: webbing, grab handles and D-ring areas, to specification.
- Confirm the zipper path, then slider feel, then the cycle requirement per spec.
- Open, close and repack the product many times, watching for corner wear and seam creep.
- Three things need checking per lane: rub marks, folding lines, and defence against humidity.
- One PP sample, built with the final BOM and final packing route, is what needs approval.
- Lock all changes before bulk cutting; avoid late feature creep.
Where sample rounds get saved
A programme that reorders cleanly
Success example (anonymized): a mid-range program targeting UK & Europe reduced rework by freezing a single tech pack, running one pre-production sample using the final BOM, and aligning QC checkpoints before cutting. A construction that can be duplicated means each season's reorder goes to the same partner.
Production & Manufacturing Methods for Waterproof Bags
Weigh MOQ requirements against turnaround duration and price tier using the options table.
We keep one authoritative version of this comparison on material selection, updated whenever the reference standards move.
Which method, and why it matters
Rather than restate a long matrix, this section points to own-brand programmes, where each row carries its method and acceptance value.
How the Mark Goes On, and What Closes the Bag
Branding options and where each fits
Assembly checks before the carton closes
Where you need the granular row detail, handbag specifications carries it with the test methods and sample sizes attached.
Logistics and Fulfilment
Freight milestones to hold
Full comparison table and line-by-line spec sheet: see cost structure and minimum order quantity, which sets out tolerances, test methods and acceptance criteria used across programmes of this type.
Key Factors to Choose a Reliable Waterproof Bags Manufacturer
Use this checklist before signing an OEM/ODM contract for waterproof bags.
Due diligence, item by item
- Can they work from a pack and tell you what they inferred?
- Are alternatives by spec offered, and BOM sourcing controlled by them?
- Do they evidence QC checkpoints, IQC to IPQC to FQC, and an AQL plan?
- Without hurting workmanship, can they allow a flexible MOQ?
- Can they give firm lead time commitments and a defined escalation path?
- Do they bring packaging and shipping know-how that fits your market?
Audit points to tick before you commit volume
Strengths worth weighing
Where you need the granular row detail, material selection carries it with the test methods and sample sizes attached.
Branding Methods Ranked by Seam Integrity Risk
Any needle passing through a coated shell creates a leak path, and branding is usually the first place that happens. Embroidery perforates hundreds of times through the face fabric, and those holes sit exactly where hands, straps and rain meet the panel. Put it on a sealed construction without mitigation and the brand mark becomes the weakest point of an otherwise sound shell.
The safe approaches fall into two families. Fused methods — heat-transfer badges, TPU patches and RF-welded emblems — bond to the coating instead of piercing it, becoming part of the surface film. Coating-compatible printing does the same at lower cost, provided the ink system matches the substrate: plastisol and silicone inks perform acceptably on PVC and TPU, and rarely on low-energy faces without pre-treatment.
| Method | Shell impact | Where it belongs |
|---|---|---|
| RF-welded TPU patch | No penetration | Front panel, clear of weld lines |
| Heat-transfer badge | No penetration | Flat panels, curved lids |
| Silicone screen print | No penetration | Large repeat artwork |
| Embroidery | Hundreds of holes | Uncoated panels or backed with a patch |
| Woven label | Needle holes | Seam allowance and binding only |
Placement carries as much weight as method. A fused badge laid across an existing weld line introduces a thickness step, and that step is precisely what causes a cold seal: the electrode sees uneven pressure at the transition. Our production team asks for clearance from every structural weld, checks curvature so the heat press can reach the area, and rejects positions where tooling cannot apply even pressure.
Surface energy is the quiet failure mechanism. Many coated fabrics resist adhesion, particularly TPU finished with a low-friction topcoat, so prints and transfers need corona treatment, flame treatment or a compatible primer, followed by an ink-adhesion check. Skipping pre-treatment produces decoration that survives the carton and lifts in week three.
Artwork should be engineered for the process rather than adapted afterwards. Fine serifs and hairlines cannot survive thick deposit inks or a heat-transfer die requiring minimum stroke widths, and gradients are unreliable across large coated panels. Our team returns vector artwork with minimum stroke and spacing adjustments applied, then proofs on actual production fabric, and recommends approving colour against that fabric rather than against a standard swatch card.
Validation should be done on the decorated panel, not on the base fabric. Hydrostatic testing per AATCC 127 on a branded section tells you whether the emblem itself holds; peel testing per ASTM D751 covers the bond; ISO 6330 laundering catches edge lift, and AATCC 8 crocking catches dye transfer onto adjacent fabric. Our team runs all four on the first decorated sample before approving artwork for bulk.
Compliance does not pause for decoration. Required care and tracking information under CPSIA must remain legible, warnings assessed under California Prop 65 must still be present, and any added coating or ink needs REACH review. Minimum is 500 pieces, tooling and screens run USD 300–2,500, and our production team retains a signed golden sample per decoration so disputes are judged against an approved reference rather than a catalogue image. Related guidance sits in bag quality certification and material selection.
Frequently Asked Questions (FAQs)
Which logo method avoids puncturing a coated TPU shell entirely?
RF-welded TPU patches, heat-transfer badges and silicone screen prints all bond to the coating without holes. Embroidery and woven labels pierce the face fabric, so our team limits them to seam allowances or backs them with a fused patch. Fused methods also avoid adding a tape layer that can later lift.
Can a heat-transfer badge survive repeated laundering?
Verified with ISO 6330 washing cycles followed by a peel check to ASTM D751. Most failures come from missing surface pre-treatment rather than from the film itself, so our team corona-treats low-energy TPU faces before pressing, then re-tests edge lift after cycling on the decorated panel itself.
How is the bond strength of a fused emblem measured?
Peel strength is measured against ASTM D751, with the pass figure agreed at sampling and re-checked on production panels. Our inspectors test decorated areas rather than bare fabric, because artwork thickness changes how heat and pressure distribute through the laminate, and uneven distribution is the usual root cause.
Why does a badge placed over a weld line cause failures?
The added thickness creates an uneven pressure step, and radio-frequency sealing then reads as a cold weld at that transition. Our production team specifies clearance from every structural weld line, confirms curvature before tooling is cut, and rejects placements where pressure cannot be applied evenly across the badge.
Does ink choice matter on low surface energy coatings?
Yes. Plastisol and silicone systems bond to PVC and TPU once the face is corona or flame treated, whereas standard inks lift. Our team runs adhesion checks after treatment and repeats AATCC 8 crocking to confirm the decoration does not transfer onto adjacent panels during packing or transport.
How much do branding tooling and screen plates cost?
Tooling and screens run USD 300–2,500 depending on how many plates, dies or embroidery programmes the artwork requires. Sample fees are USD 50–150 per piece and are credited back against the bulk order. Existing dies from previous seasons can often be reused, avoiding that charge entirely.
Does adding a decoration panel delay the sampling window?
Decoration usually fits the standard 6–10 working day window. Where a new die, raised-silicone profile or moulded emblem is involved, allow 12–15 working days, because tooling must be cut and trialled before the first decorated counter-sample can be built and approved.
Which compliance marks must survive the decoration process?
Care content and CPSIA tracking information must remain readable after branding, and any added ink or coating needs REACH review plus a California Prop 65 assessment. Our team also confirms that warnings are not covered by later-added panels, badges or hangtags placed over the printed area.
Related Guides
Internal resources
- Request a quote (RFQ)
- Browse products & categories
- Download RFQ template
- Download QC checklist
- Packing format specification guide
Related blog posts
- Travel Backpacks With Hidden Pockets: Anti-Theft Design
- Turnkey Bag Manufacturing: What It Means for Your Brand
- Tote Bag Logo Methods: Screen Print, Embroidery & Heat Transfer
- TPU vs. PVC Waterproof Bags: Which Material Is Better?
- Tote Bag Handles: Strength & Comfort Design
- Tote Bag Lamination: Waterproof & Durable Finish
Next step
• Lock keyword and claim scope for custom waterproof bag oem
• Build a tech pack with BOM + tolerance map
• Choose materials route and validate tests (by spec)
• Plan sampling gates (lead time 6-10 working days)
• Set MOQ and cost targets (MOQ 500 pcs)
• Define QC plan and AQL checkpoints
• Confirm production + shipping timeline (35-50 days)
Start your next bag programme
Send over your requirements; a manufacturing plan and structured RFQ checklist are prepared for you.
Next guides: custom backpacks.
Every Branding Method Is Either a Hole or a Bond
On a waterproof shell, the logo is the single largest leak risk you will introduce deliberately. Sort the available methods by whether they perforate the barrier, and the decision becomes straightforward.
Embroidery is the obvious trap. It is the most requested treatment on general luggage and the worst possible one on a sealed shell, because every stitch is a needle path through the barrier and the thread itself wicks water inward by capillary action. A sewn woven label has the same problem at a smaller scale, and a riveted metal plate is worse still — a permanent rigid hole with a hard edge that abrades the film around it. If a brand insists on any of these, the honest answer is that the bag is no longer waterproof in that area and the claim on the hangtag has to change.
The methods that keep the barrier intact fall into two families. The first bonds to the surface: screen print and heat transfer on coated or laminated faces, silicone or rubber patches applied with adhesive and heat, and laser marking on TPU. The second welds into the structure: a TPU patch fused to the shell with the same RF process used for the seams, which creates a bond that is as watertight as the rest of the bag and is the most durable option available. Adhesion is the constraint on the first family — a print or patch that lifts at one edge becomes a water path and a visible defect at the same time.
| Method | Perforates barrier | Leak risk | Abrasion life | Cost delta | Best substrate |
|---|---|---|---|---|---|
| RF-welded TPU patch | No | None | 5,000+ cycles | plus 8–14% | TPU, PVC |
| Silicone or rubber patch, heat set | No | Low, edge lift | 3,000+ cycles | plus 6–12% | Coated woven, TPU |
| Screen print, coated-face ink | No | Low | 800–1,500 cycles | plus 2–5% | PU or TPU coated face |
| Heat transfer film | No | Low, cracks at folds | 500–1,200 cycles | plus 3–6% | Flat panels only |
| Embroidery | Yes, every stitch | High | 2,000+ cycles | plus 5–10% | Non-waterproof areas only |
| Riveted metal plate | Yes, 2–4 holes | Severe | High | plus 10–18% | Avoid on sealed shells |
Placement Rules That Keep the Shell Intact
Reserve the branding zone before the pockets are drawn. A flat, unquilted panel of at least 180 × 120 mm is the minimum for a legible logo with margin, and it has to be reserved early because the pocket layout will otherwise consume it. Keep the artwork at least 10 mm clear of any weld or seam line — heat applied near a weld re-melts it, and stiff print spanning a weld cracks the first time the bag folds. Avoid placing anything across a natural fold line, including the roll-top crease, because flexing is what kills transfers.
Test the branded sample, not the plain one. This is the step programmes skip: the shell passes hydrostatic testing, then the logo is applied and nobody re-tests. Build a branded unit into the approval set and run the same AATCC 127 hydrostatic check and a crocking check per AATCC 8 on the print. Where the bag is sold as washable, add a domestic wash cycle per ISO 6330 and re-inspect the print edge afterwards, because the failure mode is edge lift under wet agitation rather than fade.
Colour and chemistry deserve a line in the brief. Give Pantone references for print and patches rather than a printed swatch, because coated substrates shift the perceived colour and a swatch match on paper will not match on TPU. Plastics and coatings going into the EU need a REACH (EC 1907/2006) declaration, and into California a Proposition 65 position; ask for these on the branded component specifically, not only on the shell fabric.
On quantities and cost, printed branding usually carries no tooling and a low surcharge, while a welded patch needs a die in the USD 300–2,500 band and adds a station to the line. Both sit inside the standard 500-unit minimum per style and colour, with 300 discussable on a genuine repeat programme. Sampling takes 6–10 working days including the branded strike-off, and mass production 35–50 days after approval. The material side of the decision is covered under custom bag materials, the available decoration and finishing services are listed on our services page, and the seam construction that the logo has to coexist with is explained in seamless RF welding and waterproof bag durability.
Numbers age badly when copied into dozens of places, so the maintained version of this grid stays on quality control and certification.
Rather than repeat the same matrix here, keep the detailed grading with the central reference on material selection — it lists the acceptance numbers and sampling levels our team works to.